
Installing a motorized sectional garage door is not just about following an assembly manual. Even before unpacking the panels, several technical constraints determine the feasibility of the project: the lintel drop, available side spaces, the presence of an electrical supply, and the balancing of the springs. This guide analyzes these often underestimated prerequisites and details the points of vigilance that separate a reliable installation from a project that needs to be redone.
Bay Constraints: Lintel, Side Gaps, and Ceiling
The majority of installation failures come from a garage whose dimensions do not meet the required space tolerances. The horizontal tracks fixed to the ceiling require a sufficient lintel drop above the opening. If this drop is too low, the tracks cannot be properly secured, and the door will not slide into the high position.
The side spaces pose a similar problem. The vertical tracks and their fixings consume several centimeters on each side of the bay. A narrow garage or one with side walls containing pipes or an electrical panel may make installation impossible without adaptation.
Before placing any order, measure the lintel drop, side gaps, and ceiling height. Compare these measurements to the minimum dimensions indicated by the door manufacturer. If any of these parameters are out of tolerance, there are two options: modify the masonry (create a false lintel, move a conduit) or choose a tension spring system with a low rail, which reduces the height clearance.
To understand how to install a motorized sectional garage door correctly, this initial verification of the reservations is the real starting point of the project.
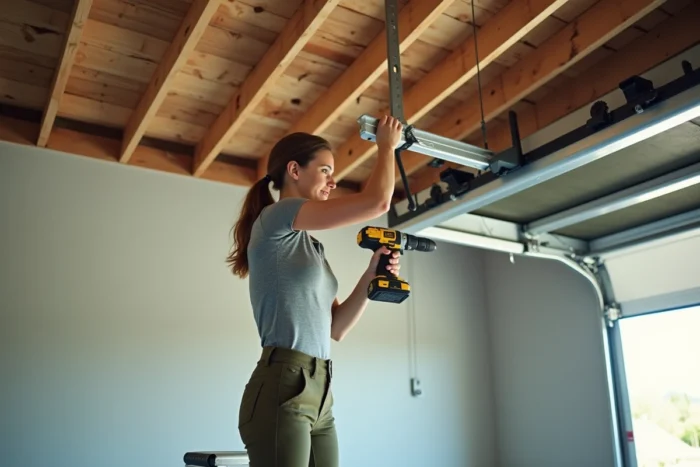
Torsion or Tension Springs: Comparison to Choose the Right System
The type of spring determines both the mechanism’s footprint and the behavior of the door once motorized. The two common systems are torsion springs (mounted on a shaft above the opening) and tension springs (attached along the horizontal tracks).
| Criterion | Torsion Springs | Tension Springs |
|---|---|---|
| Position | Horizontal shaft above the opening | Along the horizontal tracks, on each side |
| Required Lintel Drop | Greater | Reduced |
| Lifetime | Generally longer (more cycles) | Shorter, more frequent replacement |
| Balancing | Centralized adjustment on the shaft | Independent adjustment on each side |
| Motorization Compatibility | Optimal, motor effort better distributed | Compatible, but requires more precise balancing |
Lapeyre reminds us that a door must be properly balanced before being motorized. A poorly adjusted spring imposes additional effort on the motor, reducing its lifespan and potentially triggering the anti-crushing safety system unnecessarily.
Check the Balance Before Connecting the Motor
The test is simple: disconnect the motor (or do not install it yet) and lift the door manually to halfway. Release it. If it stays in place, the balance is correct. If it drops or rises, the tension of the springs needs to be adjusted.
A torsion spring is adjusted by turning the shaft with a tension bar, a task that requires specific tools and carries a real risk of injury. If you have never handled this type of mechanism, call a technician for this specific step.
Electrical Supply and Motor Positioning
Modern motorization kits require an electrical outlet in close proximity to the motor, usually fixed to the garage ceiling. The documentation for the NOVOPORTE 2 motorization specifies that an outlet must be installed on-site before assembly. Running an extension cord from a distant wall outlet is neither compliant nor sustainable.
- Plan for a dedicated outlet in the ceiling or at height, powered by a circuit protected by an individual circuit breaker.
- If the garage has no electrical supply, the intervention of an electrician is necessary before installing the motor.
- The wall control unit should be positioned at about 1.50 m from the ground, laterally away from the door, to remain accessible without being in the swing area of the panels.
The absence of an electrical outlet is the most common hindrance in older garages. In this case, there are two solutions: run a cable from the main panel (electrical work to be planned) or opt for a standalone solar motorization, which is more expensive but independent of the grid.
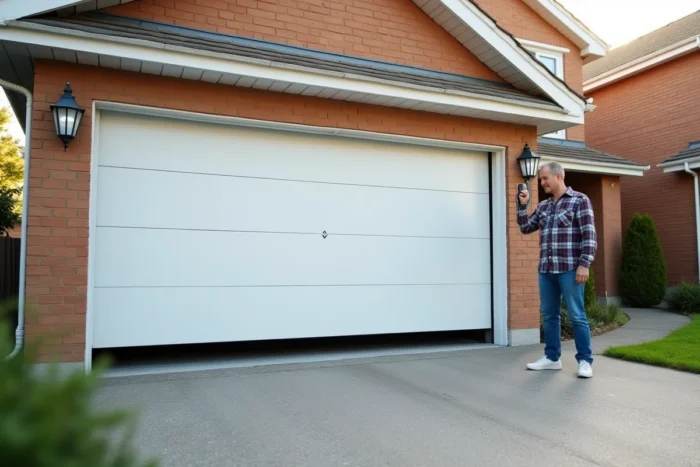
Panel Assembly and Rail Fixing: Errors to Spot
Once the bay constraints are validated and the power supply is ready, the assembly follows a logical sequence: vertical tracks, then panels from bottom to top, horizontal tracks, and finally the motor.
Vertical Tracks and Leveling
The two vertical tracks must be perfectly plumb and centered relative to the opening. A gap of a few millimeters at the bottom translates into an amplified offset at the top, preventing the panels from sliding freely. Temporarily clamp the tracks with clamps before drilling, check the level, and then secure them permanently.
Panel Assembly and Seals
Each panel clips into the tracks via its side rollers. The lip seal must be inserted into the tracks before installing the first panel. Forgetting this seal compromises the insulation and sealing of the door.
- Always start with the lowest panel, the one that carries the threshold seal.
- Check the horizontal alignment of each panel before moving on to the next.
- The inter-panel hinges must be tightened evenly to avoid friction points.
The horizontal rail is then fixed to the ceiling with hangers. The length of the hangers must be identical on both sides so that the door remains horizontal when open. An uneven ceiling requires compensating for the gaps with shims or adjustable hangers.
Final Motor Adjustment and Safety Features
The motor is fixed to the central guide rail, which is anchored to the ceiling and connected to the lintel. After electrical connection, the adjustment of the limit switches (high position and low position) determines the movement limits of the door.
Current motorizations include an anti-crushing system that reverses the movement if the door encounters an obstacle. Test this function with an object placed on the ground before considering the installation complete. A properly adjusted motor stops and reverses direction in less than a second upon contact with the obstacle.
The last often overlooked point concerns the manual disengagement. In case of a power outage, a cord or lever allows you to disconnect the door from the motor to open it manually. Identify this mechanism and ensure it works before closing the garage for the first time.